AI Tools for Editing Photos and Videos: A Beginner’s Guide
AI tools for editing photos and videos let a beginner do in minutes what used to take an evening of learning: remove a messy background, brighten a dark photo, cut the pauses out of a video, and add captions automatically. You do not need to learn a professional editing program first. The tools do the technical work — your job is to pick the right one, keep the result looking natural, and know when to stop.
What AI Editing Tools Actually Do
AI editing tools recognise what is in a photo or video and change it for you. Instead of selecting a background by hand, you click “remove background” and the tool finds the edges. Instead of cutting a video clip by clip, you delete words from a transcript and the video cuts itself.
The most useful beginner features fall into a few groups:
- Photo cleanup: remove backgrounds, erase unwanted objects, fix lighting and colour, and sharpen a blurry shot.
- Video trimming: cut silences and filler words automatically, split a long recording into short clips, and resize a video for different platforms.
- Captions and text: generate subtitles from speech, add animated text, and translate captions into another language.
- Quick fixes: straighten a crooked photo, upscale a small image, or turn a still photo into a short moving clip.
AI Tools for Editing Photos and Videos: Where to Start
Start with the tool you already have. Most phones now include AI editing built in — background removal, object erasing, and automatic lighting fixes are standard on recent iPhones and Android phones. Open your gallery, tap edit, and try the automatic enhance button on a photo you already took. That costs nothing and teaches you what AI editing feels like.
For photos you want to use in a listing, a post, or a gig, a dedicated tool is worth trying next. Background removers are the single most useful feature for beginners: a product photo on a clean white background looks professional in seconds, and most tools offer a few free removals a day. Photo enhancers that fix lighting and colour are the second-best starting point, because bad lighting is the most common problem in beginner photos.
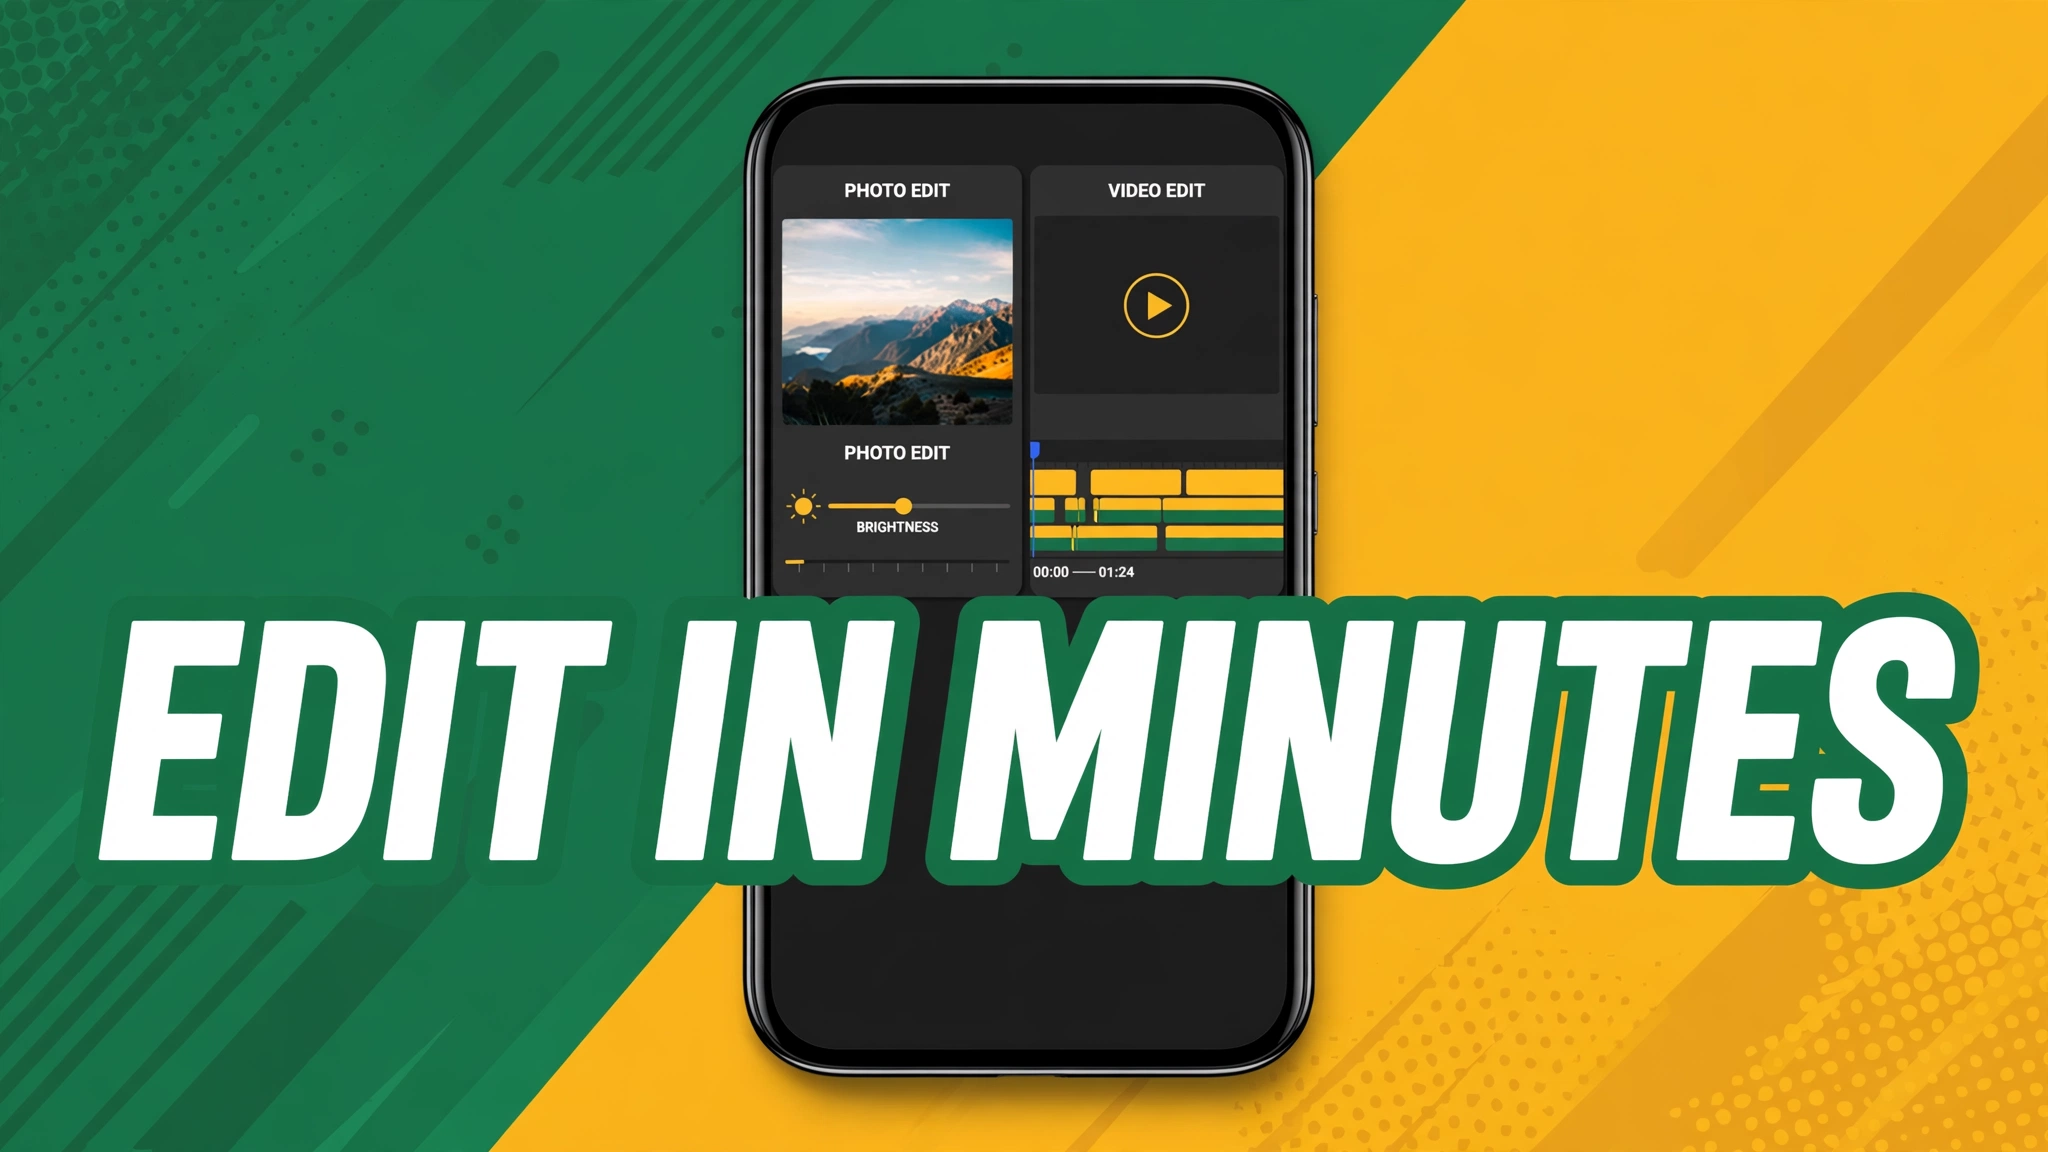
For video, start with a tool that edits from a transcript. Record yourself talking, upload the video, and delete the “um” and long pauses from the text — the video updates to match. This one feature can turn a shaky first recording into something watchable, and it is much easier to learn than a traditional timeline editor.
Free vs Paid: What Beginners Actually Need
Almost every AI editing tool has a free tier, and for a beginner it is usually enough. Free plans typically limit how many images or minutes of video you can process each month, and they often add a watermark to exported videos. That is fine while you are learning. Do not pay for a tool until you have hit the free limit at least twice — that is the honest test of whether you actually use it.
When you do pay, expect roughly $10 to $30 a month for a single editing tool, with most offering a cheaper yearly plan. Before subscribing, check three things: whether the paid plan removes the watermark, whether you can cancel monthly, and whether your finished files stay yours to use commercially. A tool that locks your exports behind a subscription is a bad deal for a side hustle.
Avoid the trap of collecting tools: one good photo editor and one good video editor cover nearly everything a beginner needs.
Keep Your Edits Looking Real
The biggest beginner mistake with AI editing is overdoing it. AI can smooth skin until a person looks like plastic, brighten a photo until the colours look fake, and sharpen an image until the edges glow. The goal is a photo or video that looks like the best version of the real thing — not a different thing entirely.
A simple rule: if someone looking at the result would guess it was edited, pull it back. This matters most for product photos — buyers trust honest images, and an over-edited photo creates complaints when the real item arrives.
The same applies to video. Automatic captions are great, but read through them before you publish — AI still mishears names, numbers, and uncommon words. Automatic cuts are great, but watch the result once all the way through. A cut in the middle of a sentence is worse than a pause.
A Simple Beginner Workflow
You do not need a complicated setup. Here is a workflow that works for most beginners, whether you are editing a product photo or a short video for a side hustle:
- Shoot carefully first. Good light and a steady hand matter more than any AI tool. Film near a window, hold the phone with both hands, and take three versions of anything important.
- Fix the big problem first. Remove the background, fix the lighting, or cut the long pauses — one big fix, not ten small ones.
- Do one pass of small fixes. Straighten, crop, and add captions. Stop after this pass.
- Export and check on another screen. Colours and brightness often look different between devices, and this is where you catch mistakes.
The whole process should take ten to twenty minutes for a single photo or a short video. If an edit is taking an hour, you are probably over-editing or using the wrong tool for the job.
What AI Editing Cannot Do for You
AI editing is a shortcut, not a substitute for the basics. It cannot fix a photo that is badly out of focus, a video recorded in a noisy room, or a product shot taken in the dark. It also cannot decide what looks good — it can only apply patterns it has learned. Your taste is still the most important part of the edit.
There are also limits worth knowing before you rely on these tools for paid work. Some free tools claim a licence over images you upload, or store your files on their servers. Read the terms before uploading client work, and never upload anything sensitive to a free online editor.
Expect to outgrow your first tool. That is normal. Start free, learn what you actually use, and only pay when the free plan is genuinely holding you back.
FAQ
Do I need a powerful computer to use AI editing tools?
No. Most beginner AI editing tools run in a browser or on your phone, and the heavy processing happens on the tool’s servers. A normal laptop or a recent phone is enough. You only need a powerful computer if you move on to professional desktop editors later.
Are free AI photo and video editors safe to use?
Most well-known ones are, but check the terms before uploading anything important — look for a clear statement that you keep the rights to your files, and avoid uploading private or client photos to a tool you have never heard of.
Can AI editing replace learning to edit properly?
For simple jobs — product photos, social clips, short videos — yes, AI tools cover most of what a beginner needs. For paid client work with specific requirements, you will still need to learn the basics of framing, lighting, and cutting. AI makes the technical part faster; it does not replace judgement.
How long does it take to learn AI photo and video editing?
You can produce a usable edited photo in your first session, usually within fifteen minutes of opening a tool. Video takes a little longer — expect your first captioned, trimmed clip to take about an hour, and your fifth to take twenty minutes. The learning curve is mostly about learning when to stop, not about learning the buttons.
IncomeXP publishes practical, hype-free guides to earning more — no promises, just information you can use.